

Creating a LED circuit on a PCB (Printed Circuit Board) involves several steps, from designing the circuit to fabricating the PCB and finally assembling the components.
1. Circuit Design
a. Determine LED Requirements:
Choose the appropriate LED(s) based on the required color, brightness, and current rating.
Determine the driving voltage and current needed for the LED(s).
b. Design the Circuit:
Sketch out the circuit diagram using a schematic editor or draw it by hand.
The circuit should include the power source, current-limiting resistors (to protect the LEDs from excessive current), and any additional components like switches or controllers.
2. PCB Layout Design
a. Convert Schematic to PCB Layout:
Use PCB layout software (e.g., Autodesk Eagle, KiCad, Altium Designer) to convert your schematic diagram into a PCB layout.
Arrange the components on the PCB layout, considering factors like signal integrity, component spacing, and heat dissipation.
b. Route the Traces:
Connect the components using traces (copper lines) on the PCB. Ensure the traces are wide enough to handle the current and short enough to minimize voltage drop.
Use vias (connections between layers in multi-layer PCBs) where necessary.
c. Add Design Constraints and Checks:
Apply design rules and constraints to ensure the PCB layout meets manufacturing requirements.
Run design rule checks (DRC) to identify and fix any issues.
3. PCB Fabrication
a. Prepare the PCB Files:
Export the PCB layout files in the format required by the PCB manufacturer (e.g., Gerber files, drill files).
b. Send Files to Manufacturer:
Submit the PCB files to a PCB manufacturer. There are many online services available that offer PCB fabrication services, such as JLCPCB, PCBWay, and Seeed Studio.
c. Manufacturing Process:
The manufacturer will process the files and create the PCB using various techniques, including etching, plating, and drilling.
The PCB will be shipped to you once fabrication is complete.
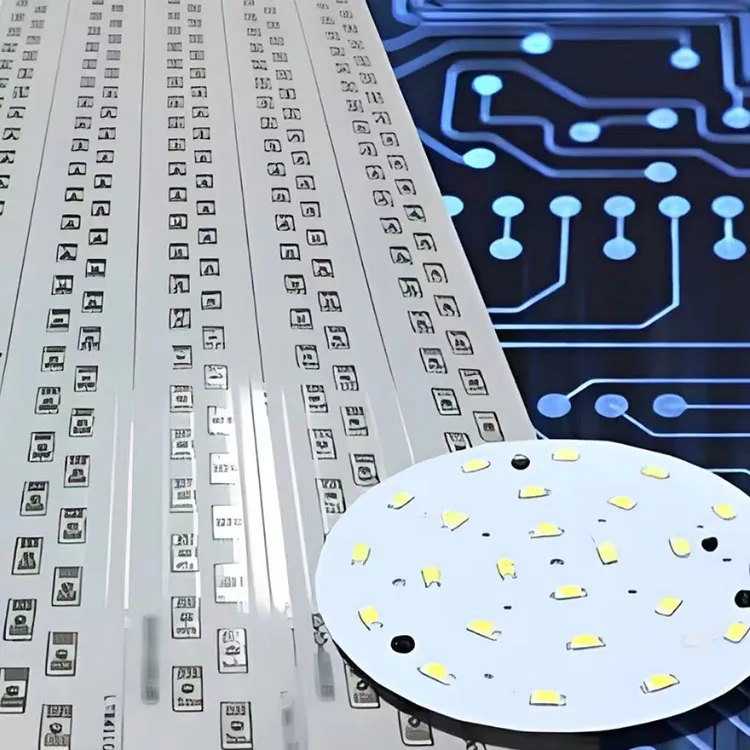
4. Component Assembly
a. Prepare the Components:
Gather all the required components, including the LEDs, resistors, and any other necessary parts.
b. Solder the Components:
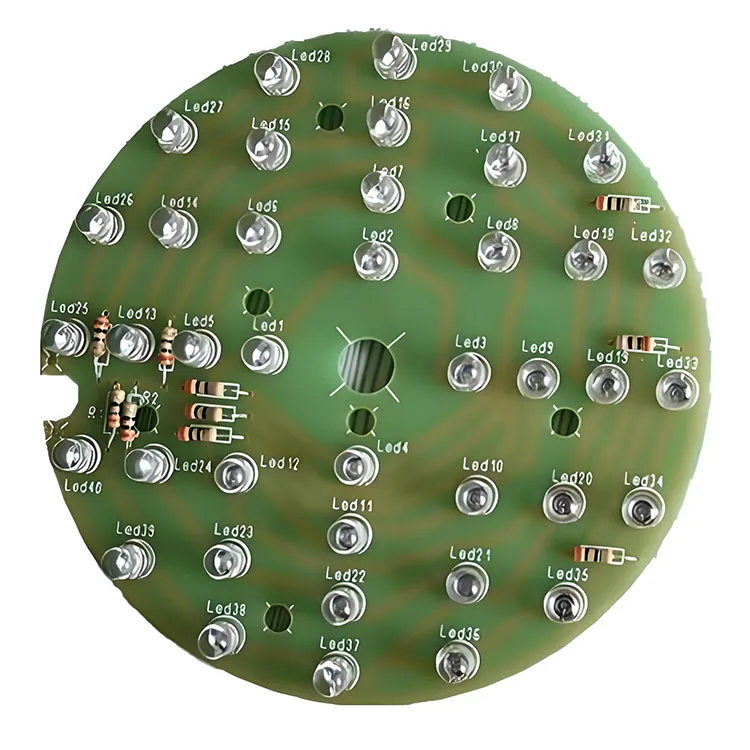
Place the components on the PCB according to the layout.
Solder the components in place using a soldering iron or a hot air gun. Ensure that the soldering is neat and free of short circuits.
c. Test the Circuit:
Power up the circuit and test the functionality of the LEDs.
Check for any issues with the circuit, such as blown components or incorrect connections.
5. Final Assembly and Testing
a. Mount the PCB:
Mount the PCB in its final enclosure or application.
b. Perform Final Testing:
Test the LED circuit in its final form to ensure it meets all the requirements.
c. Debugging and Optimization:
If necessary, debug the circuit and make any necessary adjustments to optimize its performance.
By following these steps, you can successfully create a LED circuit on a PCB. Remember to carefully plan your circuit design and PCB layout to ensure a reliable and efficient final product.


 devices?")


